Add Discount on Product price in preshtashop
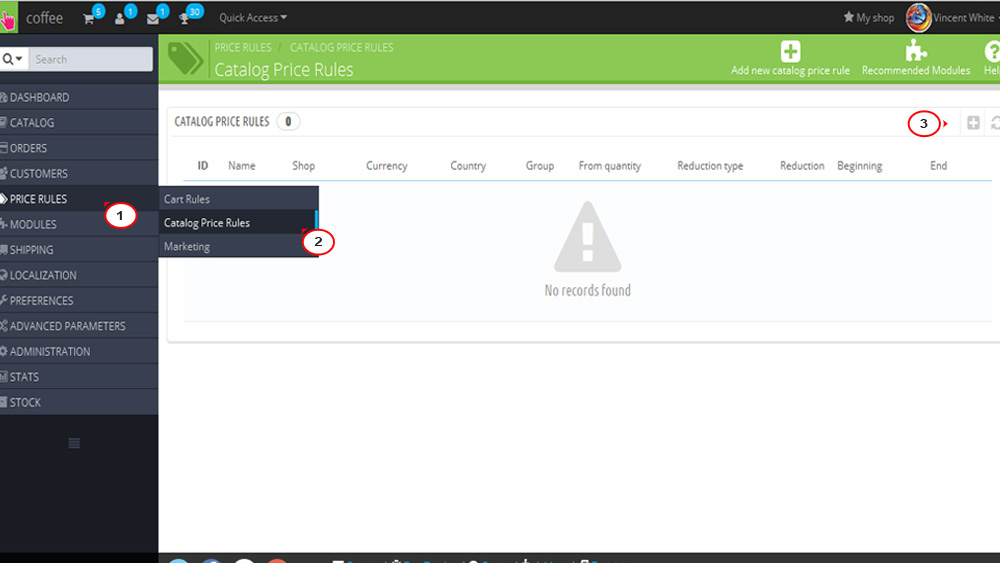
- Let’s create a catalog price rule. Log into PrestaShop admin panel.
- Navigate to Price Rules – > Catalog Price Rules .
- Click Add new catalog price rule button in the top right corner. You will see two sections for creating rules.
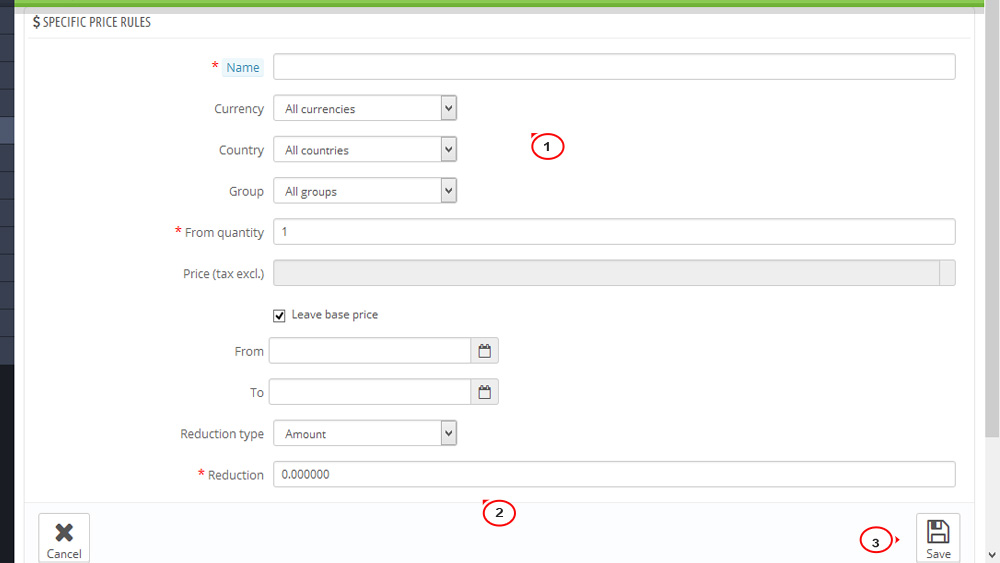
- Specific price rules – here you set who should benefit from the rule, what the discount should be, and other details.
- Name. The name is public, so you should keep it casual.
- Currency. The rule applies to customers who set to pay with a specific currency.
- Country. The rule applies to customers from a specific country.
- Group. The rule applies to customers who belong to a specific customer group.
- From quantity. The rule applies the order that has at least a specific number of products.
- Price (tax excl.). The new price for the product. By default, the rule applies to the base price.
- Reduction type. The discount can either be an amount of money, or a percentage of the order total.
- Reduction. The value of the reduction.
- Conditions – set the conditions to which the category price rule applies. It only appears if you click on the Add a new condition group button.
- The default condition group is empty. You can add conditions to it using the drop-down menus in the lower part of the section. Choose a category (manufacturer, supplier, attributes, features), and then click Add condition button.
- The condition will appear in the condition group. You can put many conditions in a condition group.
- When you finish creating your price rules, click Save button to confirm the rule.
- Check your webstore frontend. We created the new catalog price rule successfully.


Feel free to check the detailed video tutorial below:


Comments
Post a Comment